Winter 2014 Swim Platform Project
As the 2013 boating season came to a close
we decided that the swim platform was due for an upgrade. Over the years with
various davit systems attached and from general misuse it was evident that
water damage and dock rash had taken its toll. Also as we use a tip up davit
system this would be a great opportunity to provide ourselves with walking
space between the dinghy and the stairs, and why not add a deck box at the same
time.
Before we started we had to ensure we had a
suitable workspace over the winter to handle a 15 foot wide platform that we
are now going to extend an additional 15 inches. So many thanks to my brother
Mark for letting us use his heated garage this winter, especially knowing that
with fibreglass this was going to be a dusty and smelly job
The first step in the process was to remove
the platform from the boat. We planned a full day for this task and had a few
family members to help us. Removing the stairs and all the hardware was a
pretty straight forward job. With all the hardware removed the platform
remained attached as solid as if we had not removed anything. The biggest task
was trying to break the bond of 3M 5200 between the transom and the platform
and took the majority of the time. We tried everything from piano wire to cut
through to Debond, in the end the application of upward pressure with a hydraulic
jack is what proved to be successful. Apparently the 5200 does not have a high
shear strength but the sound of the breaking apart was a little unnerving as it
sounded just like fibreglass was cracking.


The next couple of weekends were spent
setting up the garage and measuring the existing holes for refinishing the top.


Once that was done it was time to flip over
the platform and remove the bottom skin and all the balsa coring. While not
entirely bad there were a few spots with significant water damage. This was a
tiring process as the balsa and the fibreglass have a very strong bond and with
balsa being laid in with end grain it was a tedious job taking it out in small
pieces.


Then came the decision on where to cut and
how much of an extension should be added. We were originally going to add 18
inches, which would have made the platform a full 5 feet deep by 15 wide. But
since we were not replacing the supporting struts on the transom there was
concern on how much weight they could take with that much of an extension. So
we called in our in house Engineer Jim McLeod for some quick calculations. Although
the braces could have technically held the extra weight and leverage we decided
to only go with the 15 inch extension to be on the safe side.
The cut was straight forward and we kept it
so the two joining sides would remain away form any structural mountings. Once
the cut was made and everything lined up it was time to start the fibreglass
work. For this we laid cloth and chopped strand mat to bring the thickness up
to the same as the top skin. We found it to be very helpful to make a rolling
rack for the cloth and chopped matt and made measuring and cutting very easy.


Now with the insert completed it was time
to begin the coring. We decided to stay away from wood coring on this project
and went with the Corecell Foam Board. It is very light and incredibly strong
when sandwiched between Fiberglass. The other addition we went with on this
project since the platform will be deeper is to add in bracing to strengthen
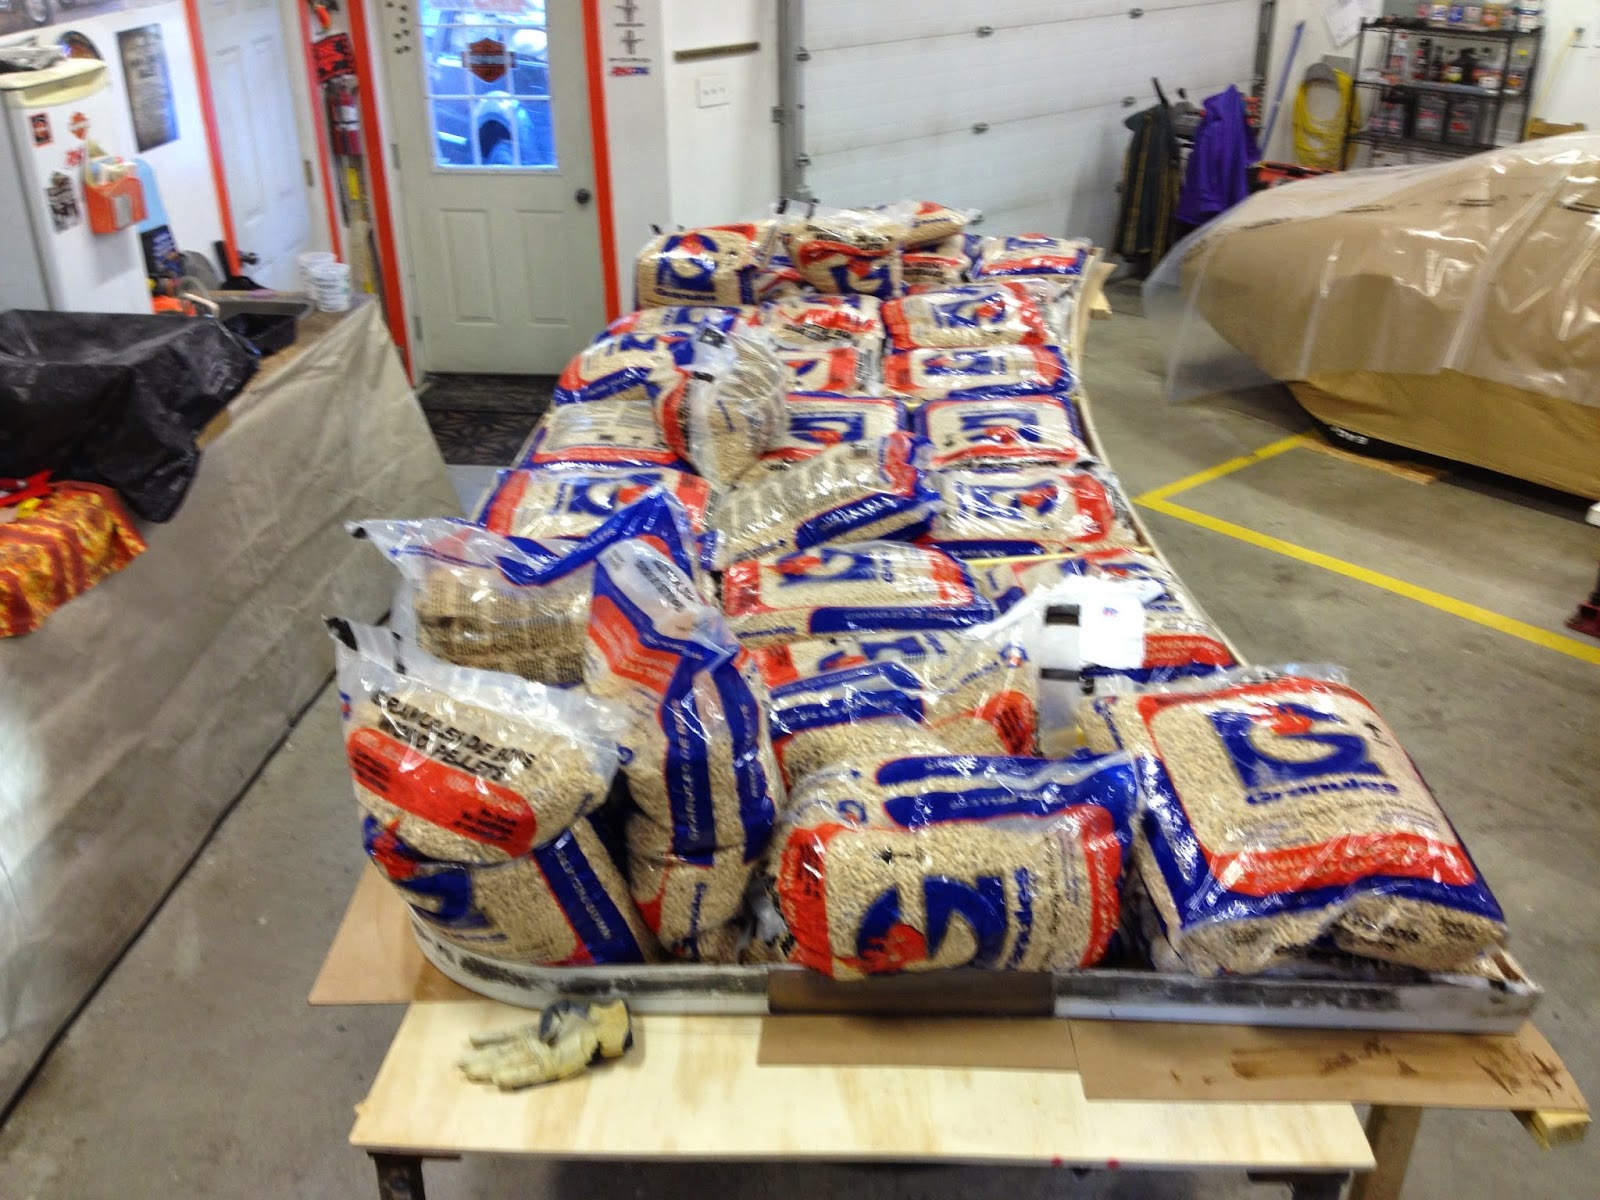
and ensure now bounce to the finished platform. The stringers where made form
the foam board, and pleased to say it is
just like working with wood as if can be cut and shaped using regular wood
working tools. Luckily as the garage is heated with a wood pellet stove, the
pellet bags came in handy as weights when attaching the stringers.


Then is was a quick turn over to ensure
that the deck was still level and we still had the holes lined up for the
mounting hardware.

The next task was to add deck vents which
were not part of the original platform design. As the platform was now deeper
we wanted to ensure that any water thrown onto the deck would easily flow
through or off, and should we have following seas that there was venting for
any upward pressure on the deck. I was able to source three SeaRay vents out of
the US

Now it is time to add the forms I made for
the vent holes and fitting of the foam board to the underside to adhere with
fibreglass resin.


The additional cut outs in the foam board
are for attachment points for the swim ladder, davits, braces and transom
stairs. Although foam board does not suffer the same consequences as water into
balsa, we still wanted to eliminate the possibility of water intrusion from any
bolt and screw holes. Therefore any place where we were going to attached
something we will put in a solid block of fibreglass.
With plenty of resin mixed up it was time
to mate the foam board to the upper skin of the deck. The pallet bags again
provided a great way to place pressure on the foam board while the resin set.
Once the foam board was set we started to fill in the cut outs and fillet all the joints of board to board contact as well as to the front and back lips of the deck. This would ensure that there were no right angles to try to fit cloth too as everything had a nice radius.


The multiple polka dots are holes made in
the foam board to allow air to escape when we used the resin to bond the board
to the upper skin and pressure was applied until resin oozed from the hole then
we knew good contact was made.
Now it was time
to start creating the bottom skin of the platform. This consisted of multiple
layers of chopped strand mat and then the woven cloth to create an overall
thickness of about 1/8 inch of fibreglass. This was a delicate job as you could
not create too much resin ahead of time, but enough to be able to keep working
from a wetted edge as we moved form section to section as well as over the
braces. Also very beneficial is the special ribbed matt roller. This tool was
absolutely essential in getting all the air out of the matt when applying
resin.


The back edge of the platform where it
attaches to the transom is a plywood board sandwiched within fibreglass, and as
it is in good condition and maintains the radius for attachment we decided not
to replace this piece. We did however ensure that it was well sealed form any
water intrusion in the future.

Next came the endless sanding in
preparation of the gel-coat to protect the fibreglass.

The bottom skin was gel-coated by brush as
we lacked the equipment to spray gel-coat, although it would have made a much
better job. But since this part will rarely seen by fellow boaters the brush
method was fine. The first couple of coats were put on using laminating resin,
which is without wax. This allowed us to put on multiple coats without sanding
between them as the resin remains tacky long after drying. This is one reason
we spent a lot of time sanding before gel-coating, and none afterwards. The
final gel-coat was with the regular waxed resin and only required light sanding
before sealing with regular boat wax.


With the bottom finished it was time to flip the deck over again and tackle the finishing of the top. Since this consisted of the original skin we only need to finish the joint from the piece inserted and the old hardware mounting holes.


Again the top was finished with brushed gel-coat. We were not overly concerned about brush stroke lines as we would sand as much as we could, and the top is going to be covered with anti-skid.

After extensive sanding and touch ups we
taped off the areas prior to the anti-skid application. Besides the edges, we
taped off anywhere there would be a bolt of fastener to ensure a clean edge for
sealing as well as for appearance. The large taped off area is for the deck box
we will install once the platform is re-installed on the boat.
Our choice for anti-skid was a product
called Kiwi-grip. This product was a mayonnaise thickness type paint that was
simply painted on then a special roller used to provide the texture surface.
Depending on your allowance for drying time creates the level of roughness to
the anti skid. Not only was it easy to use, it did not require the mess of mixing
grit or layering sand on top of gel-coat then recoating. If needed in the
future we can simply sand off the old Kiwi-grip and reapply with our having to
touch the gel-coat again.
We have also added small pop-up cleats to
the outside corners of the platform to tie up the dinghy or other visitor boats
now.


For the transom stairs, which are aluminum,
I had a paint shop media blast them to remove the paint that was already
starting to flake off, then powder coated to protect them from the elements.
The steps also were given the Kiwi-grip treatment to provide anti-slip
properties.


The deck box is
something we sourced from other suppliers. After much searching we found a new
unused box from a Cruisers Inc 455 that had very close to the same radius
transom. The only major difference was in the outward slope of our transom to
the inward slope to the Cruisers. So we only
had to make small filler pieces of
fibreglass panel to fill the gap.


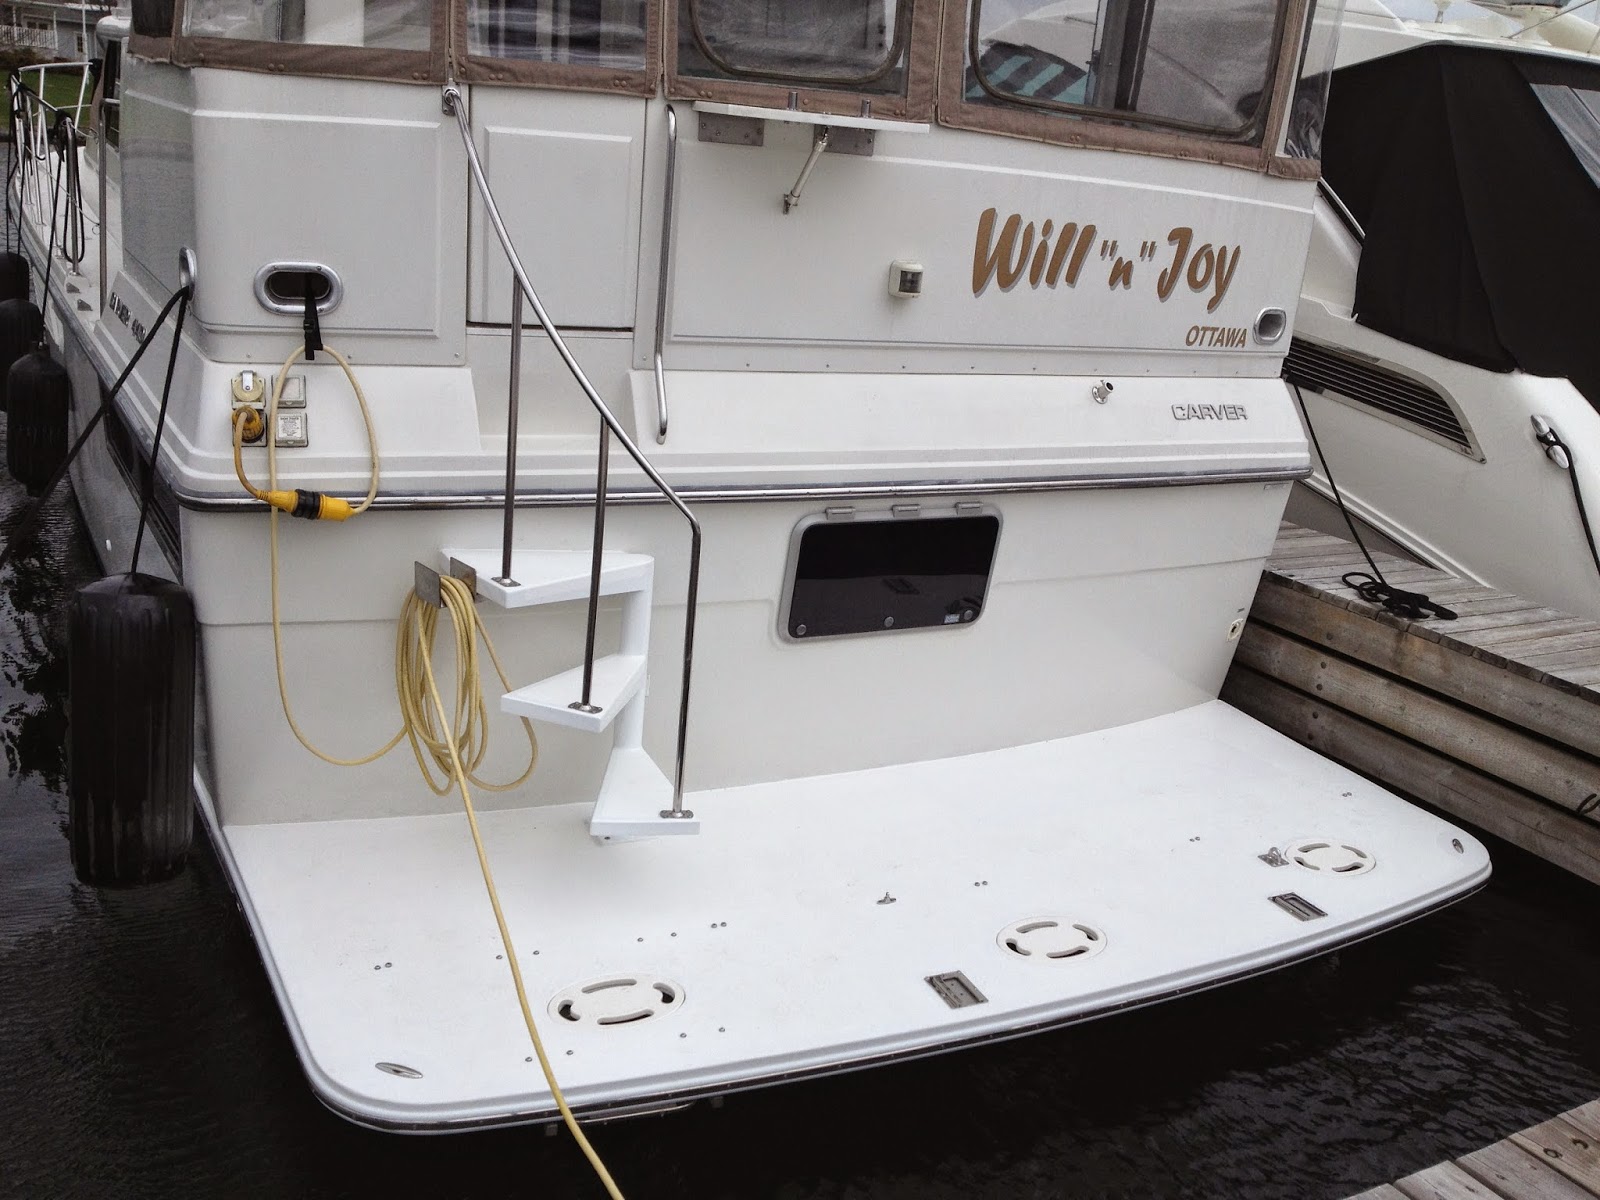
Installation in the spring was completed
with friends and family again and with many hands did not take very long. We
replaced the rub rail around the platform as the old rub rail was now too short
with the extension being added. AS we could not source any grey moulding that
is used on the Carver, we decided to go with the white which fortunately does
not look out of place due to the distance the platform is from the gunwale rub
rails.
The actual installation of the deck box was
not completed until after launch.

In summary, we took this job on because of
the high number of hours to complete which would have made it an expensive job
if contracted out.
We spent at least one day a weekend and
sometimes two days from November to March to complete this project. With a
little knowledge and a lot learned it was not overly difficult to do. The key
is too have the workspace to do it and the time.
We used layup resin for the majority of
work, which is unwaxed and eliminates a lot of sanding between coats, and when
spread out over weekends only we could still do another layer without sanding.
In fact we only purchased laminating resin, and added styrene wax to the mix
when we decided it was the final coat. When working with gel-coat it would be
nice to have the tools to spray vs. brushing.
We came very good at measuring out the
resin we could use in the allotted time, and using the right amount of hardener
depending on the temperature and humidity. The nice thing about working with fibreglass
is all mistakes can be sanded or cut our and redone if necessary. The bad part
is the amount of dust and smell. We where always wearing gloves and the appropriate masks for dust and vapour,
but the smell impregnates your clothing and hair and takes a while to get rid
of.
Most of our supplies came from Noah's in Toronto
We required 43 litres of resin, 10 litres
of gel-coat, 1 litre of Styrene, 3 sheets of 4X 8 Corecell, 24 yds of 1.5 oz
chopped mat, 30 yds of 6 oz cloth, 4 litres
of Kiwi-grip, 2 gallons of chopped Glass Strand, 2 gallons of colloidal silica
(thickening powder).
There were also a lot of mixing pots, brushes,
rags and sandpaper used.
Our cost for all materials, including the
new rub rail was $3,868 and then there was an additional coat of $2,000 for the
deck box.
Would we do it again, yes. It was fun at
times, hard work other times and a great learning experience. We also did it
for about a third of the cost we were quoted, excluding the deck box.